

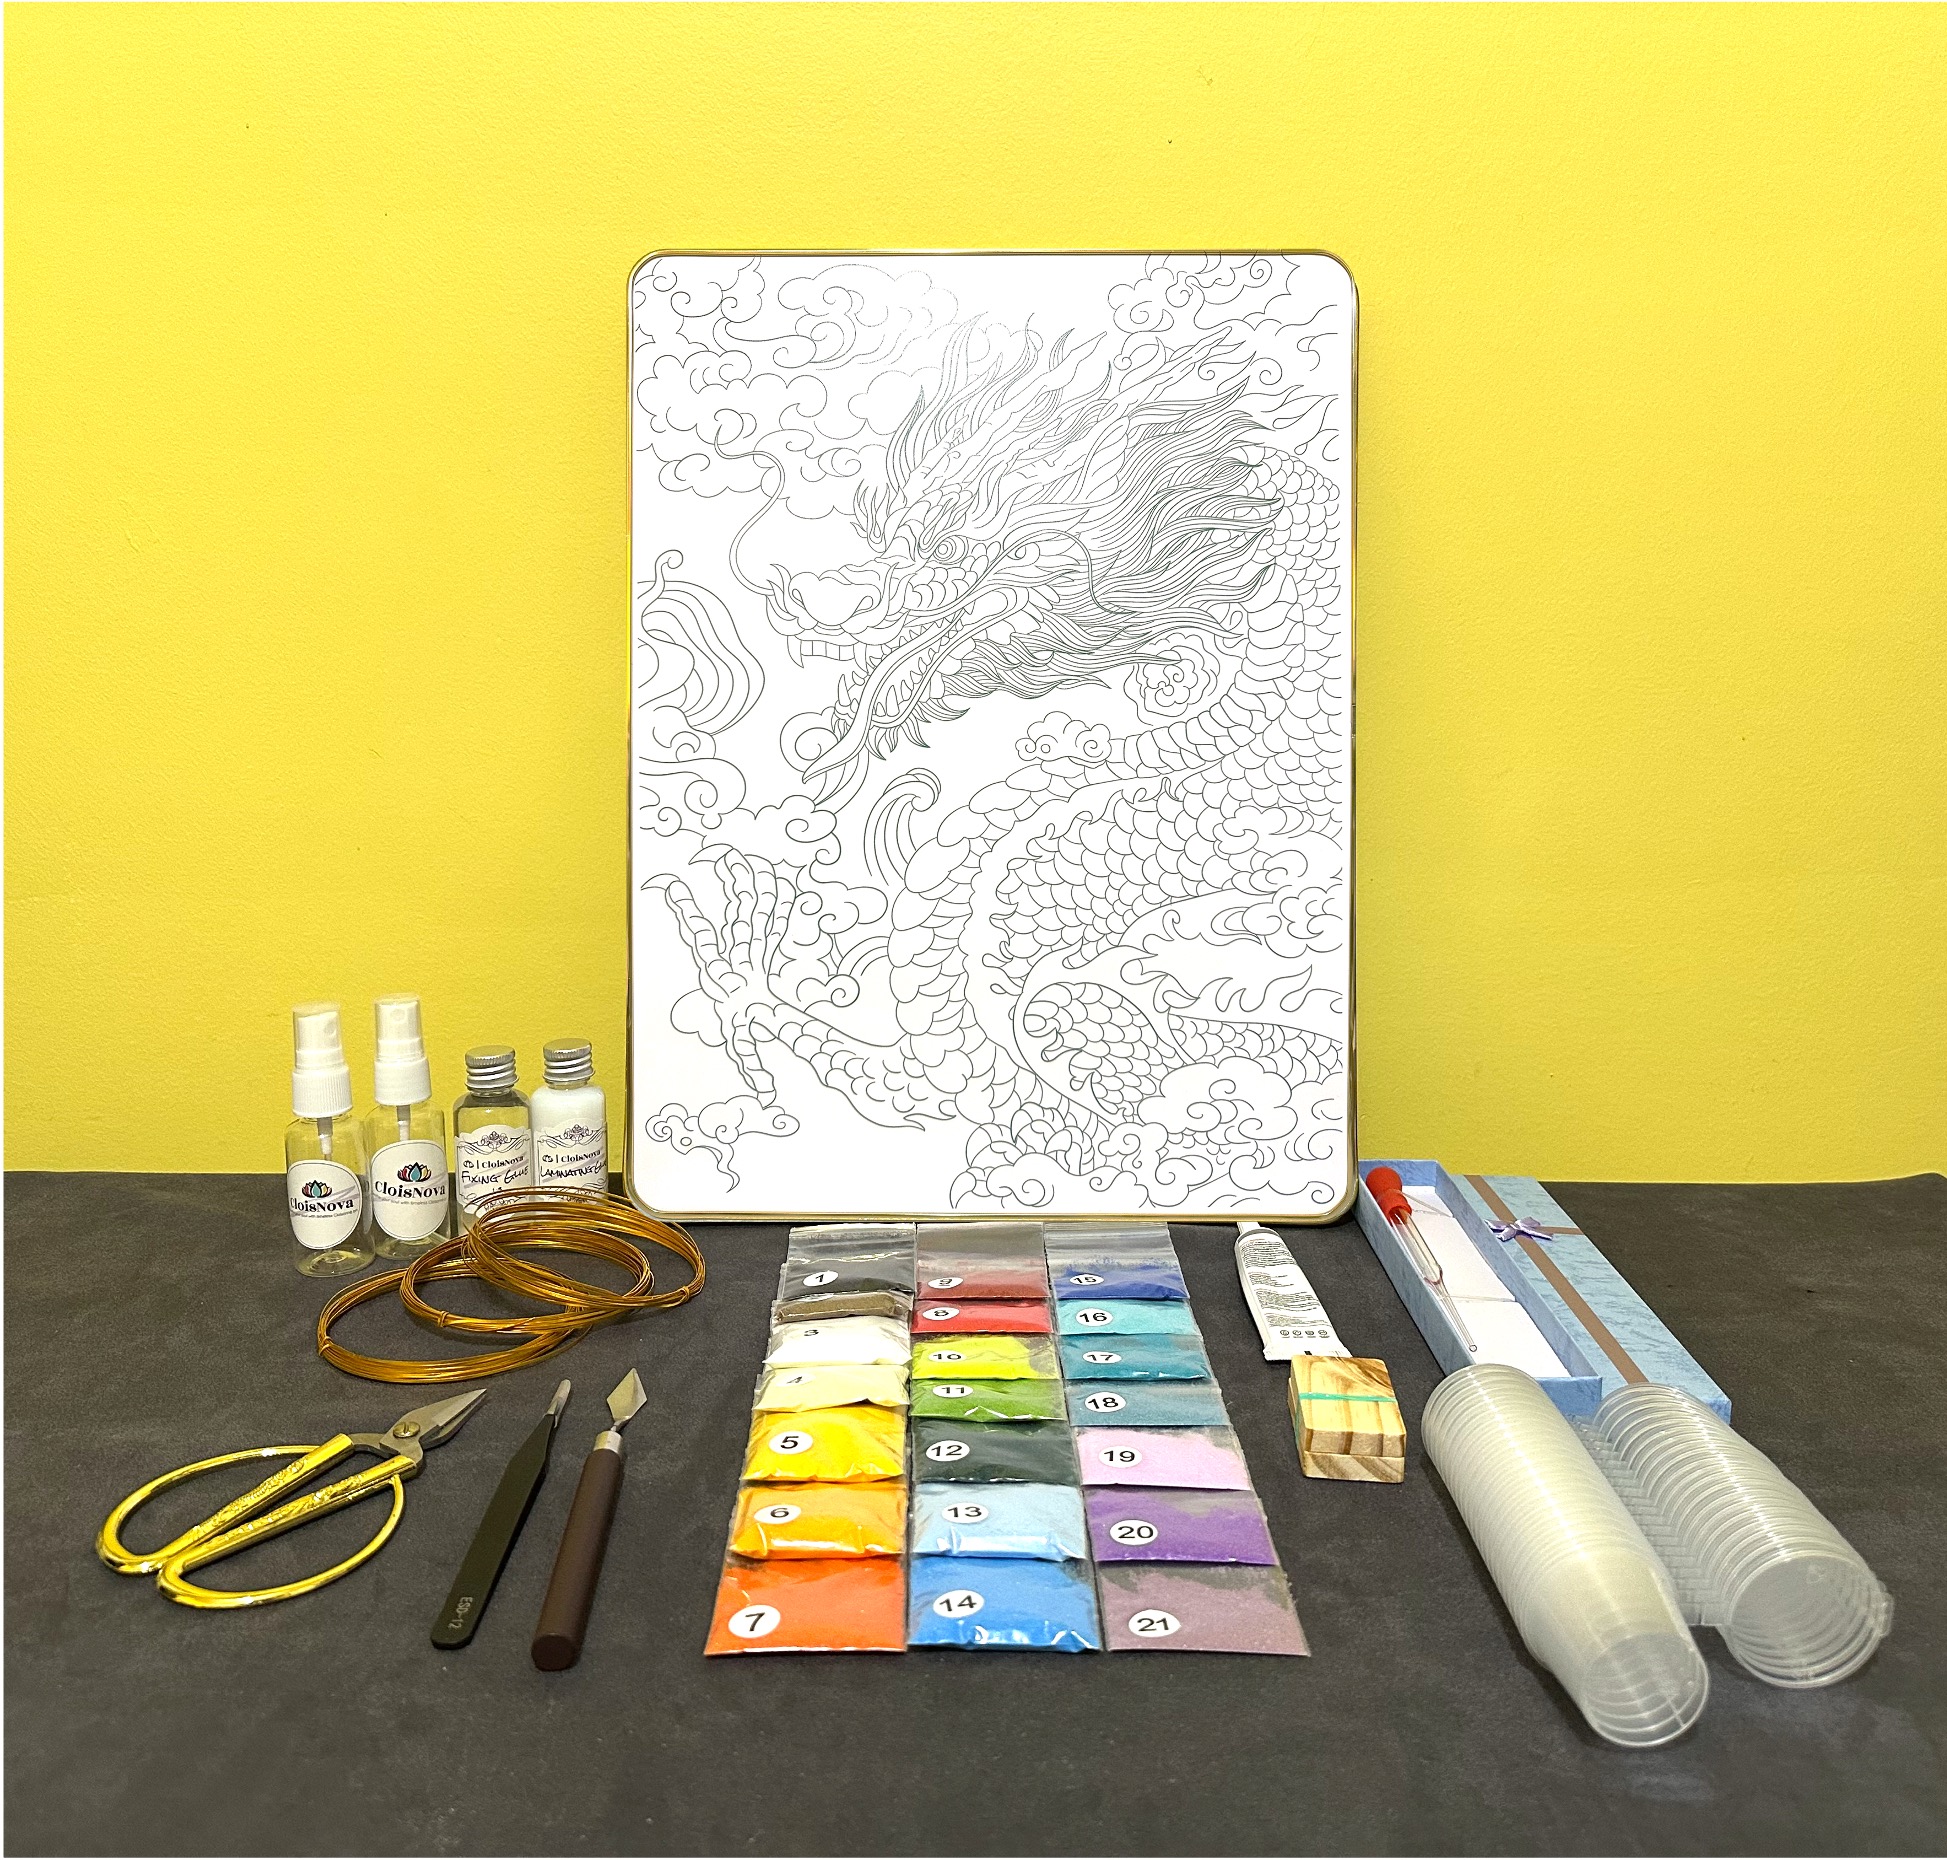
About the Flying Chinese Dragon Cloisonné Kit
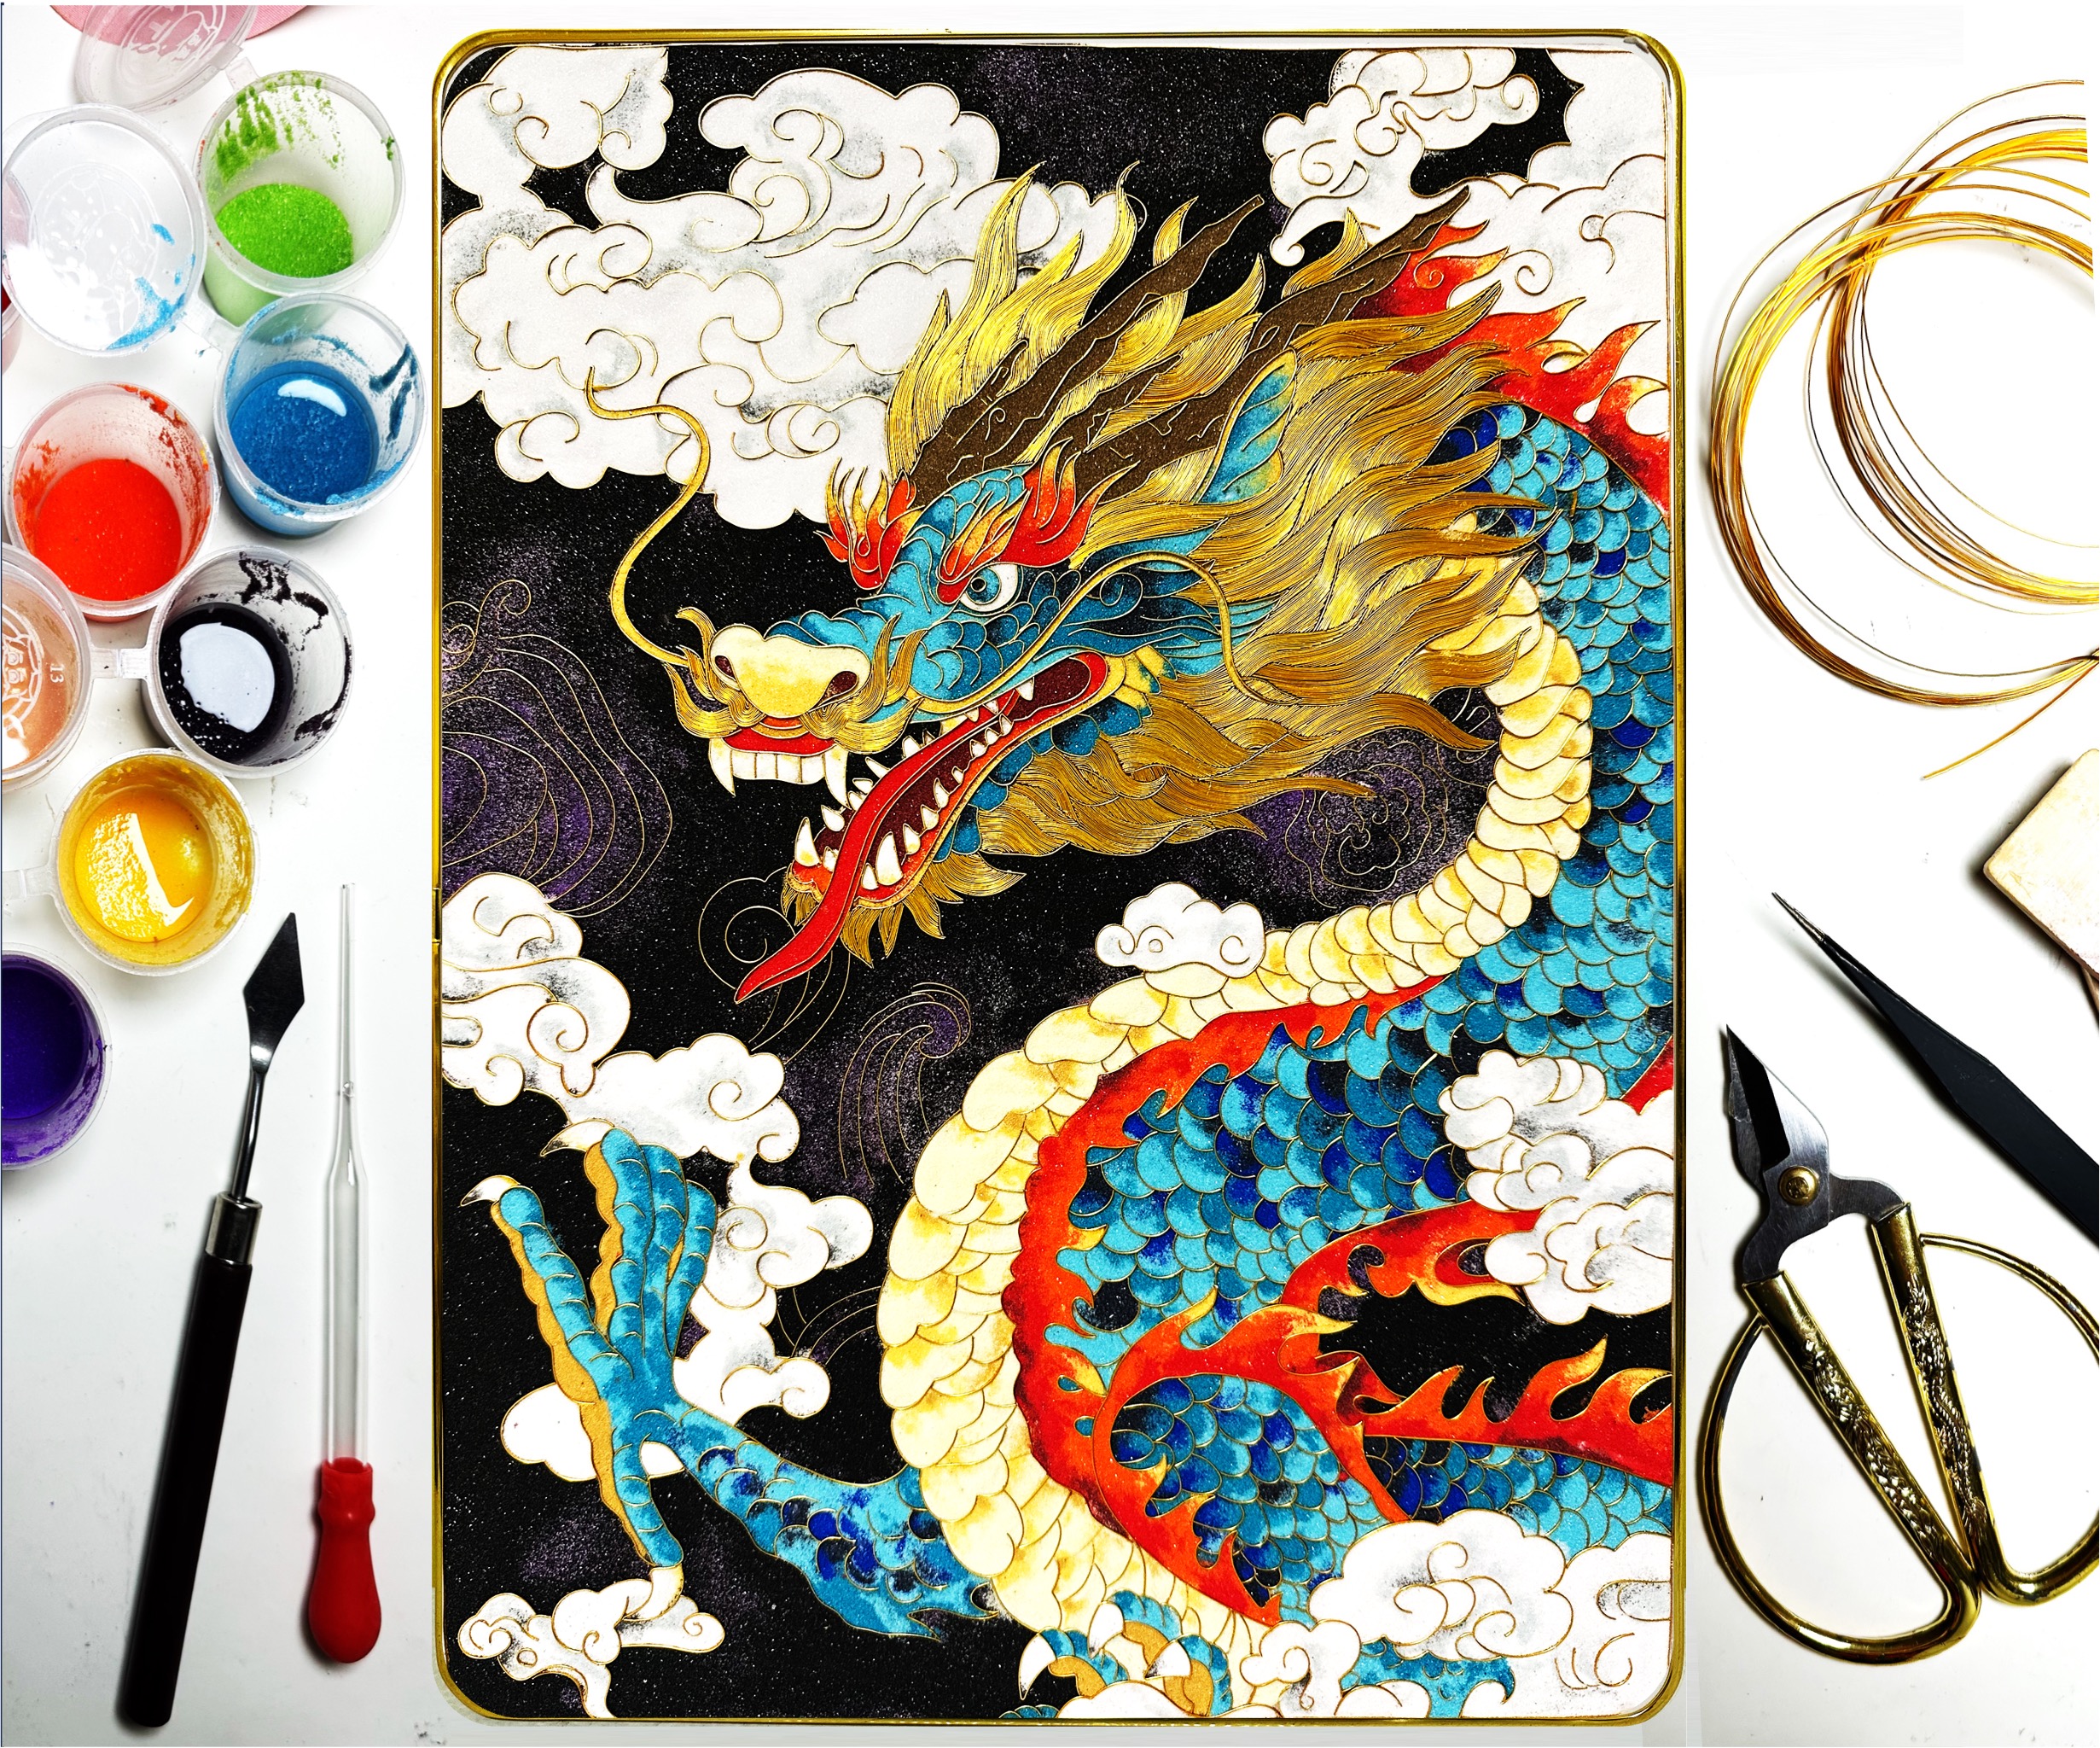
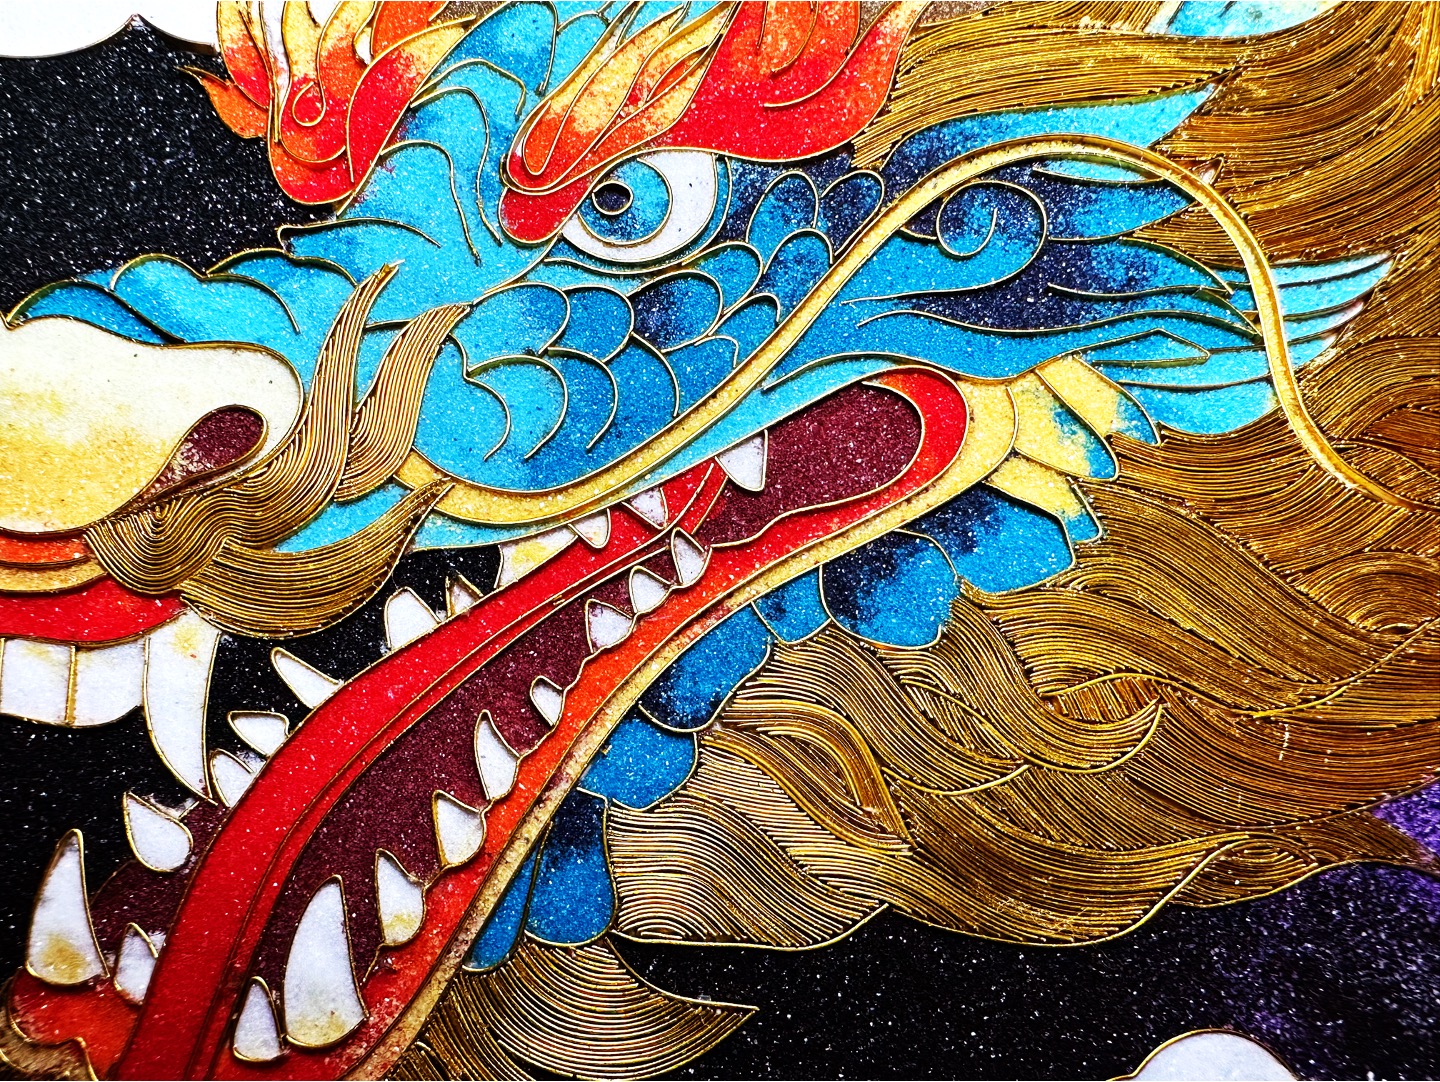
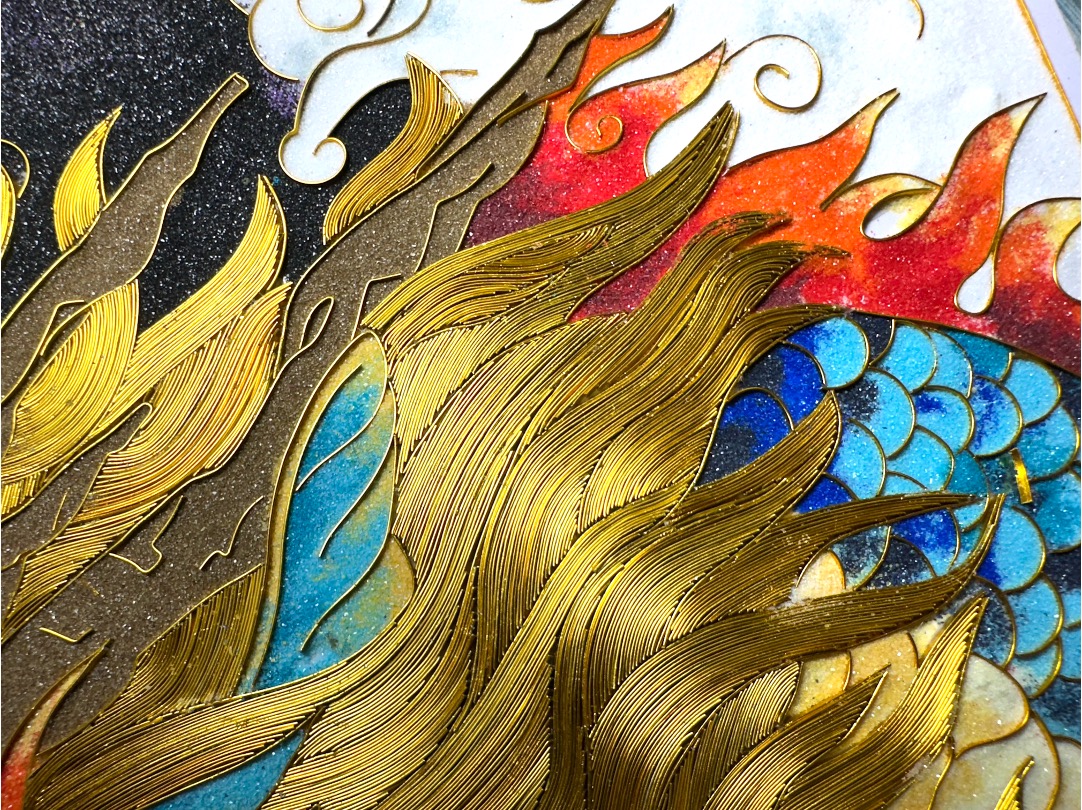
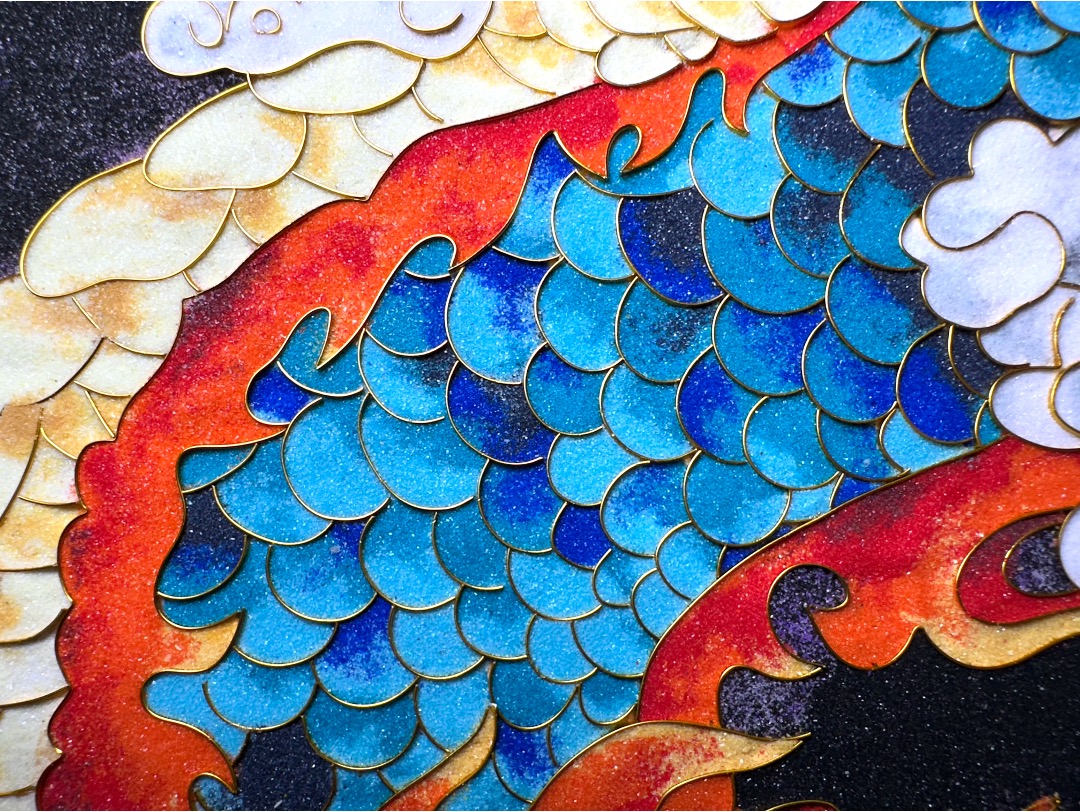
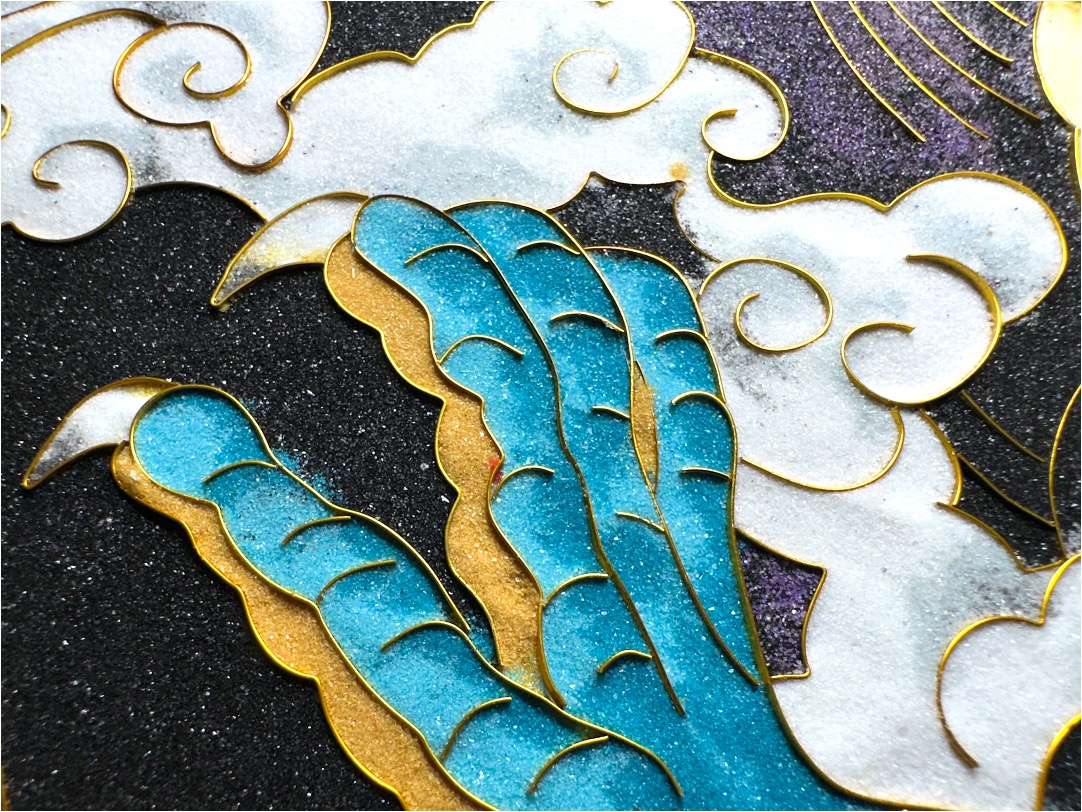
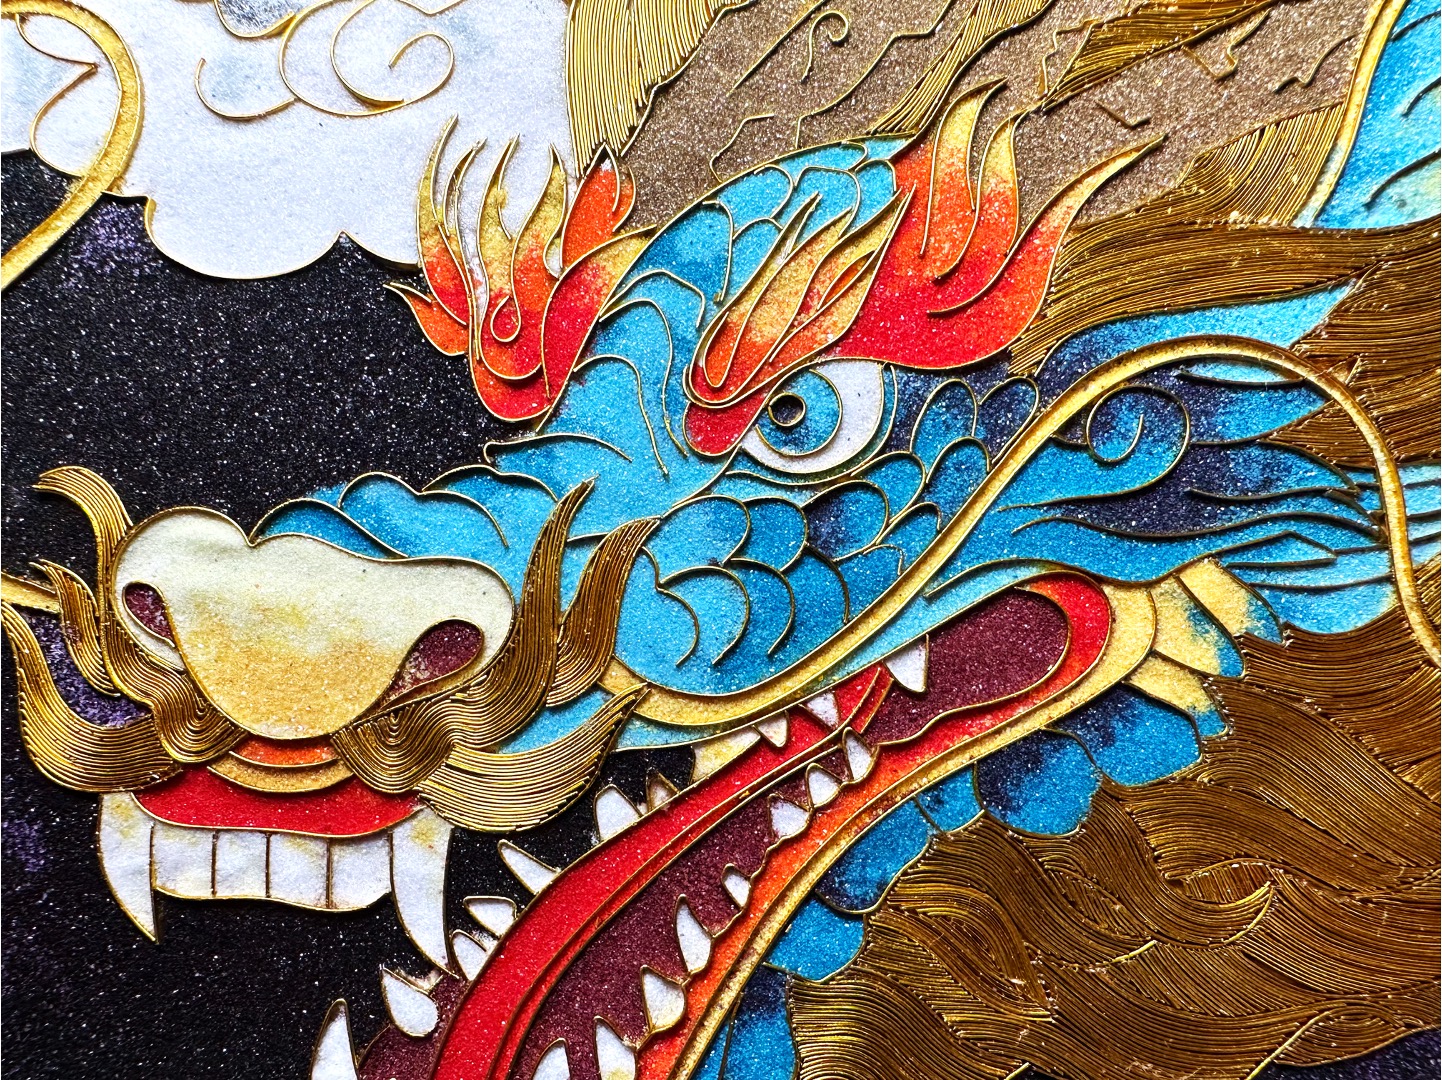
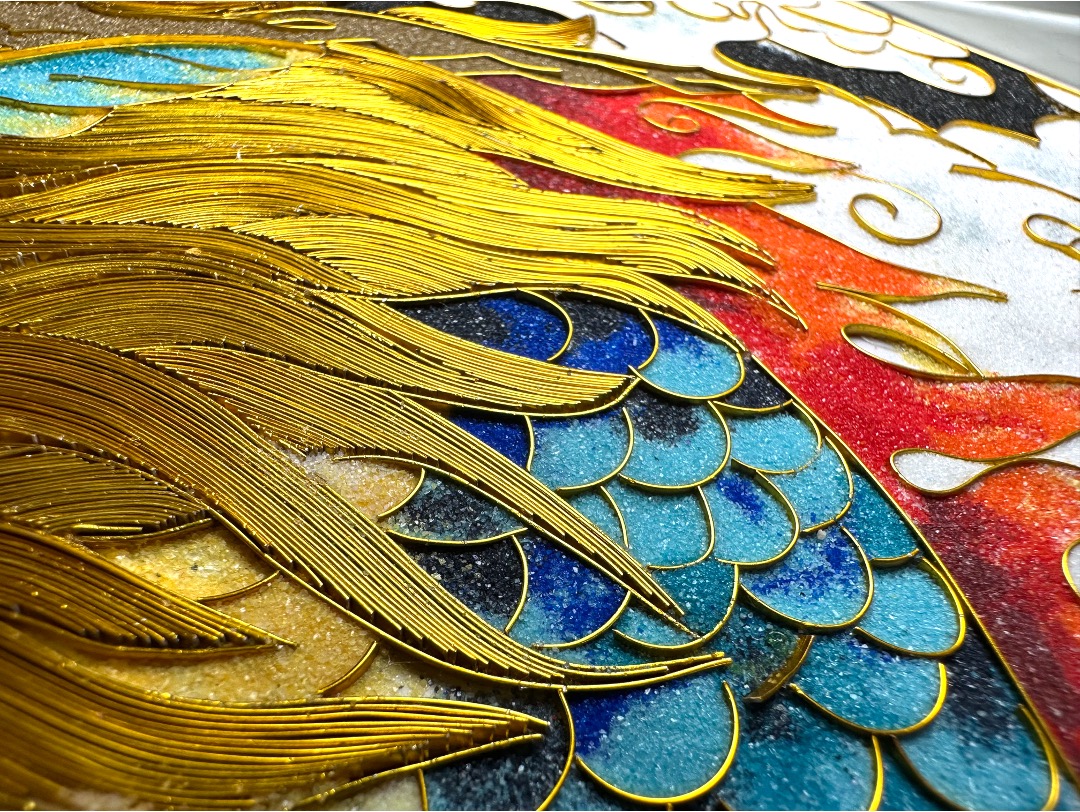
Soar into the world of Chinese mythology with our exquisite Flying Chinese Dragon Cloisonné Kit. Inspired by the legendary dragon—a symbol of power, wisdom, strength, and good fortune—this kit invites creators of all skill levels to craft a stunning cloisonné masterpiece depicting a magnificent dragon soaring through the sky. More than just a DIY project, it offers a relaxing and rewarding artistic experience while introducing you to the timeless tradition of cloisonné enamel art.
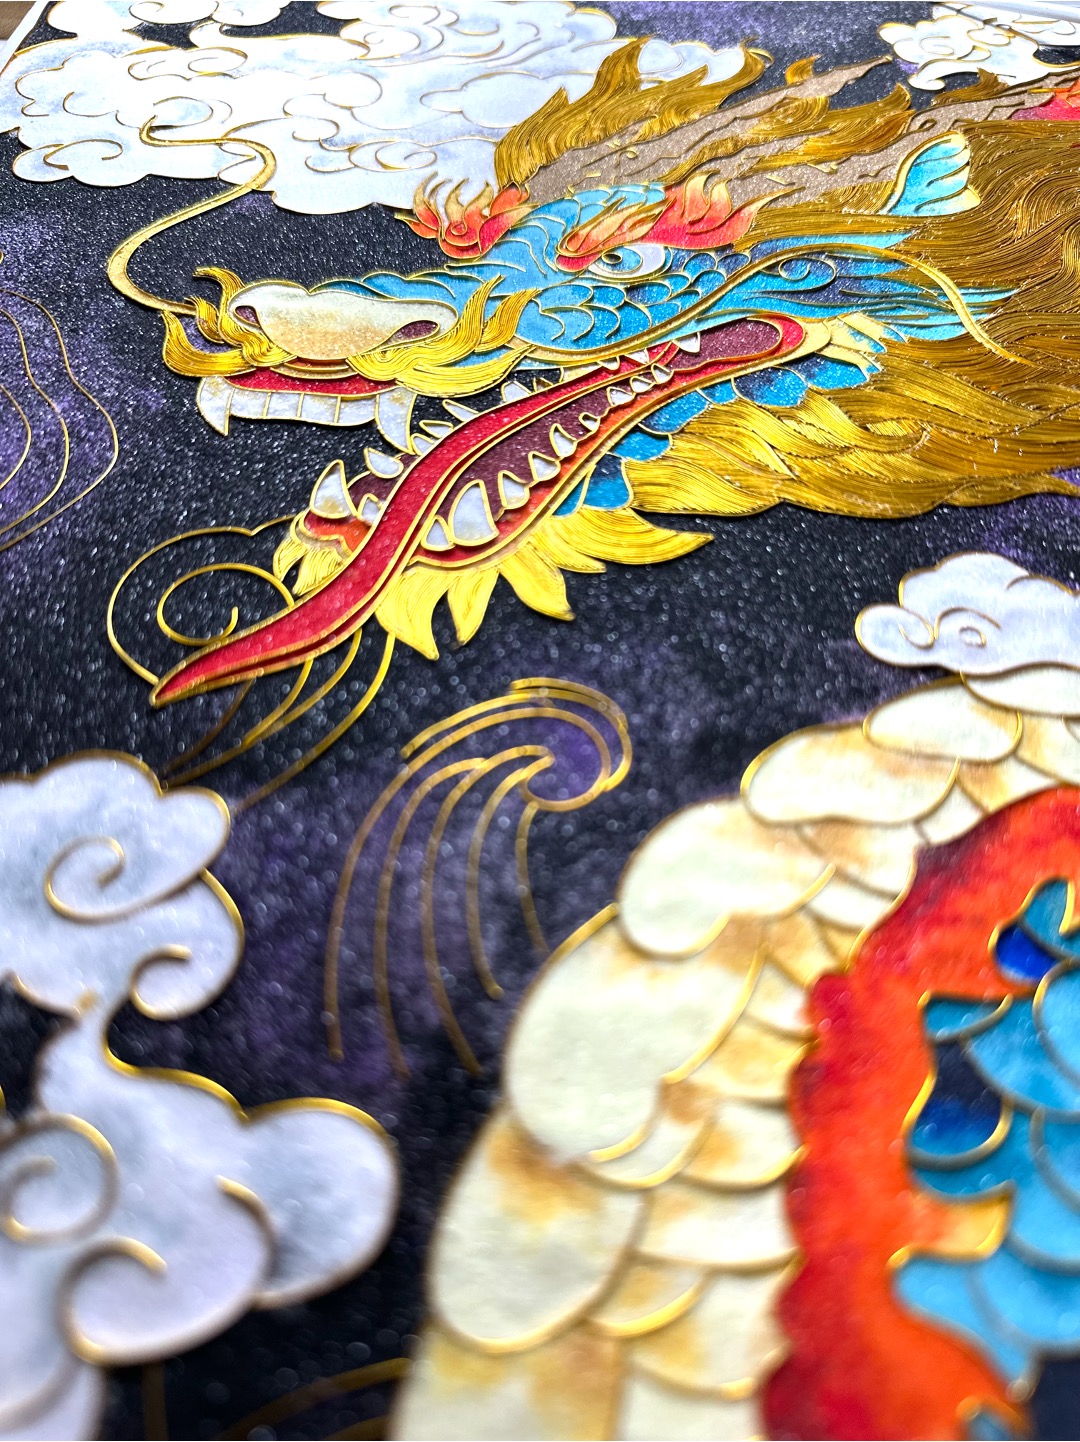
This unique DIY kit allows you to create a vibrant, one-of-a-kind enamel artwork featuring an exclusive flying dragon design, capturing the movement and spirit of this legendary creature among the clouds. Whether you’re looking for a meaningful handmade gift, a mindful creative hobby, or an engaging activity for friends and family, this kit provides an enjoyable and memorable crafting experience.
Difficulty Level: Moderate ★★★
This level is suited for those who have some experience and are ready to take on a more challenged project. While the overall process remains approachable, there are additional steps, techniques, or details that require patience and focus. This is a great level for refining skills and expanding creativity while still having room for adjustments.
Flexibility: Some parts of the project may require precision, but there is still room to adapt and personalize the design. You might need to follow certain techniques more closely, but creativity is still encouraged in areas where adjustments can be made.
Note: Typically, larger sizes are easier to work with for the same pattern, as they offer more space for detailed work and allow for a more relaxed approach.
Start your cloisonné crafting journey with confidence! We provide lifelong support for your Cloisonne craft learning—feel free to reach out with any questions. Join our community for exclusive tips, inspiration, and special surprises!
How to make the Stunning Blue Swan?
1. Apply Glue
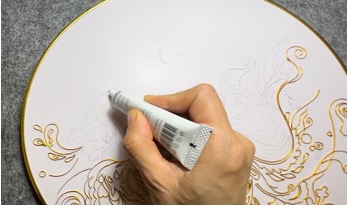
Apply wire-fixing glue (i.e., B-7000 glue) along the printed lines. Wait for 3-5 minutes, or until the glue will no long stick to your finger if touched lightly. While waiting for the glue to set, use the wire straightening boards to straighten wire.
2. Wire Work
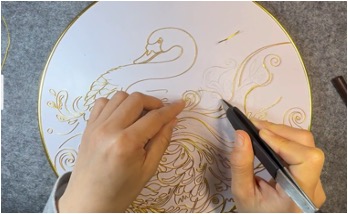
Use tweezers to help place and shape the wire while sticking it to the board. Make sure the wire oriented vertically and forms a tight connection to the board. Use a straightening board to gently press the wire down, ensuring that the wirework is even and level throughout.
3. Prepare Colored Sand
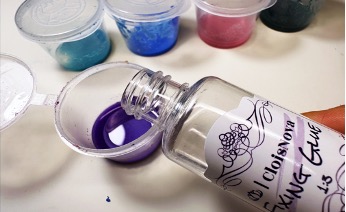
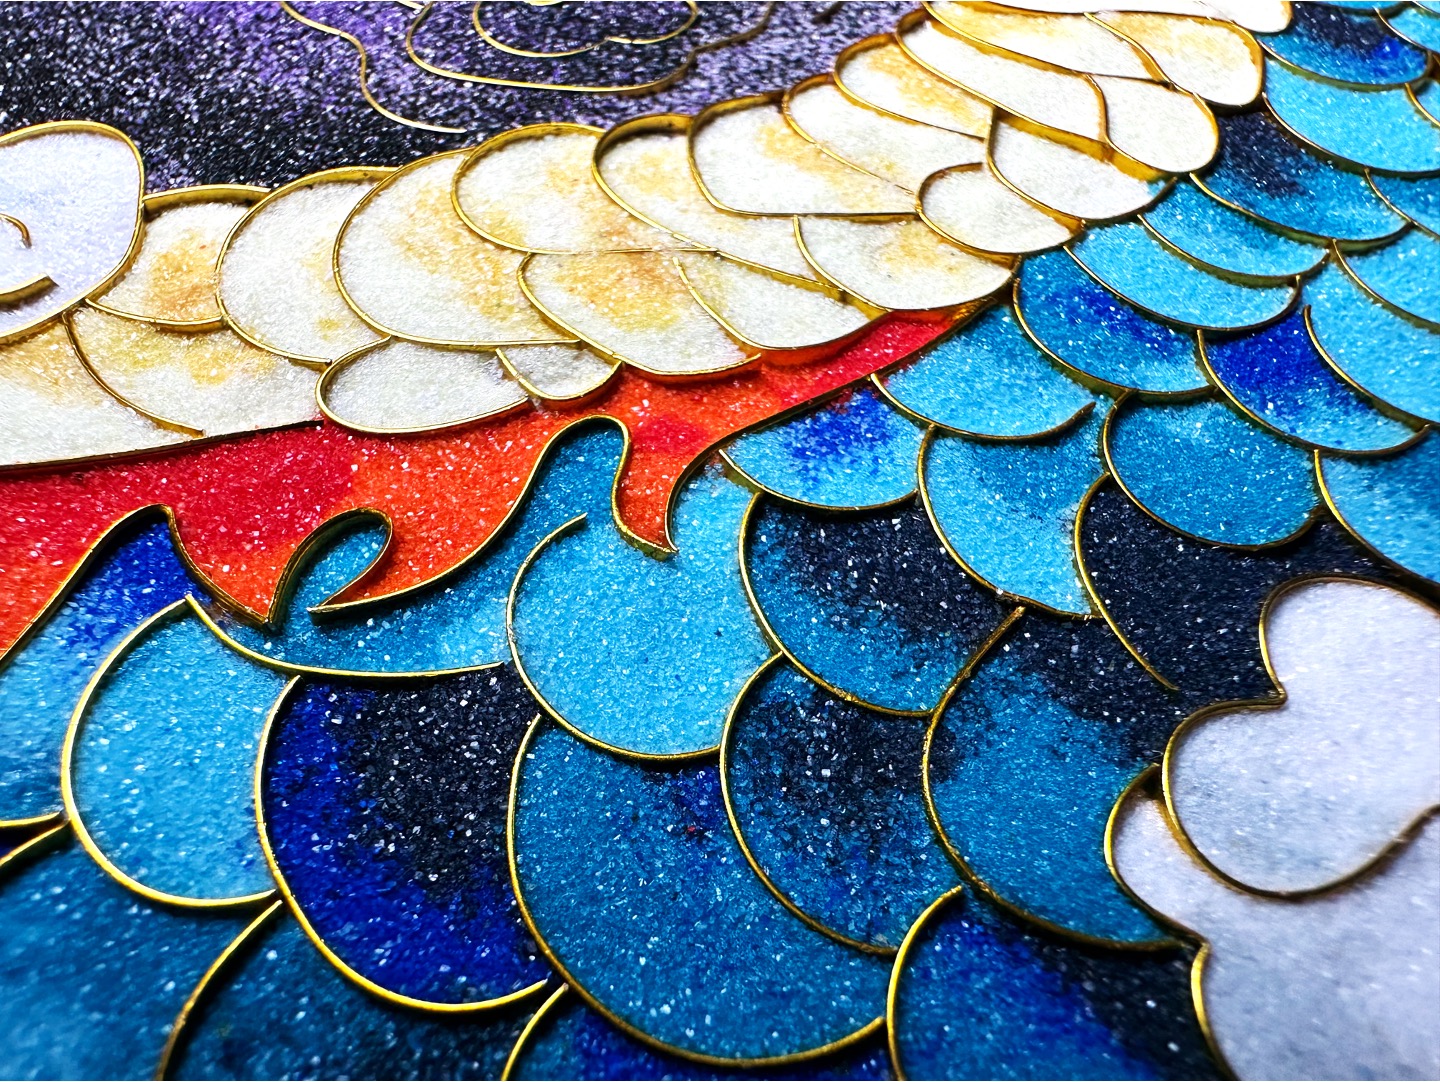
Wash the sand by filling the included cups of sand with some water and a drop of dish soap, shake well, and rinse carefully. When clean, there will be no bubbles, and the sand will settle on the bottom of the cup. Slowly pour out as much water as possible and add a small amount of sand-fixing glue (1 part glue for every three parts of the remaining water) and mix well.
4. Coloring
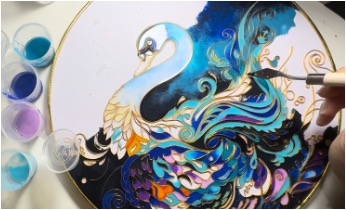
Spray the board with water. Fill the sand between wires with the included painting knife or dropper. Sand should be filled to about 1/2 to 2/3 the height of the wire. Use droppers to remove any sand outside the desired areas.
5. Make Adjustments
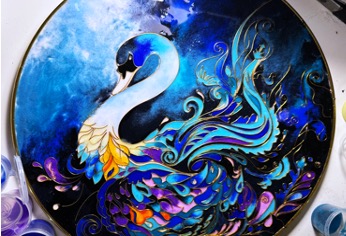
Inspect each part of your work and make any necessary adjustments. If the sand appears uneven, spray a little water and gently shake the board to level it out. Be careful not to let the sand shift into unwanted areas.
6. Sealing
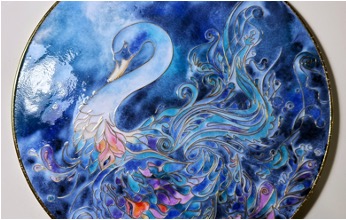
Allow your work to sit for a few hours, or until no water is visible but the sand is still slightly damp, then spray a thin layer of laminating glue on your artwork. The glue will appear white initially but will become transparent as it dries. Wait 36 hours or until the surface is fully dry.
And there you have it—a stunning artwork made by you! 🎨✨
Watch our instruction video for more details.”
| Weight | 3.8 lbs |
|---|---|
| Dimensions | 14 × 12 × 2.5 in |
| Size | |
| Tools | Full Kit, Lite Kit |
Only logged in customers who have purchased this product may leave a review.
Related products
-
Forest Spirits Cloisonné Kit
Price range: $48.00 through $65.00 Select options This product has multiple variants. The options may be chosen on the product page -
Lucky Goldfish Cloisonné Kit
Price range: $48.00 through $65.00 Select options This product has multiple variants. The options may be chosen on the product page -

Lotus and Koi Bamboo Coaster
Price range: $28.00 through $55.00 Select options This product has multiple variants. The options may be chosen on the product page -

Modern Lotus Cloisonné Kit
Price range: $48.00 through $65.00 Select options This product has multiple variants. The options may be chosen on the product page

Reviews
There are no reviews yet.